A metal roof isn’t just a durable choice—it’s a long-term investment in your home’s protection and curb appeal. Learning how to install metal roofing properly can save you time, money, and potential headaches. Whether you’re a homeowner wanting to tackle a DIY project or simply curious about the installation process, understanding the right techniques is key.
At WA Sequoia Roofing, we’ve helped countless homeowners transform their roofs with professional metal roofing solutions. In this guide, we’ll walk you through everything from preparing your roof surface to securing the final ridge cap, ensuring your project is safe, efficient, and built to last.
Understanding How to Install Metal Roofing
Before you begin, it’s important to understand the components of a metal roofing system and the proper sequence of installation. Metal roofing consists of roofing panels, fasteners, closure strips, and trim pieces such as eave trim and ridge caps. Each piece plays a crucial role in keeping your roof watertight and durable.
Knowing the installation process step by step allows homeowners to avoid common mistakes like improper fastener installation or misaligned panels. WA Sequoia Roofing emphasizes careful planning to ensure a seamless and long-lasting result.
Choosing and Buying Metal Roofing Materials
The first step in any project is selecting the right materials. When you buy metal roofing, consider the type of metal, the finish, and the color that complements your home. Common options include steel, aluminum, and corrugated panels, each offering unique benefits in durability, weight, and aesthetic appeal.
Additional materials you’ll need for installation include:
- Roofing screws and fasteners
- Sealant tape
- Eave trim and drip edges
- Ridge caps and closure strips
WA Sequoia Roofing helps homeowners choose the best materials for their roof type, climate, and budget, ensuring that every metal roofing project starts with the right foundation.
Preparing the Roof Surface for Installation
A smooth, clean roof surface is critical for a successful metal roof installation. Begin by removing old roofing materials, debris, and any loose nails. Inspect the wood or decking underneath for damage, and replace any sections that are weak or rotting.
Proper preparation ensures that the metal roofing panels lay flat, reducing the risk of leaks or panel shifting over time. WA Sequoia Roofing recommends taking measurements carefully at this stage to avoid wasting materials and to plan panel layout efficiently.
Taking Measurements and Planning Panel Layout
Accurate measurements are key to a professional-looking installation. Measure the length and width of your roof, accounting for overhangs and edges. Mark the panel placement to ensure proper alignment, spacing, and overlap.
Planning the panel layout ahead of time helps prevent mistakes during installation. Misaligned panels or gaps can compromise the roof’s integrity. WA Sequoia Roofing advises double-checking measurements to minimize errors and make the installation smoother.
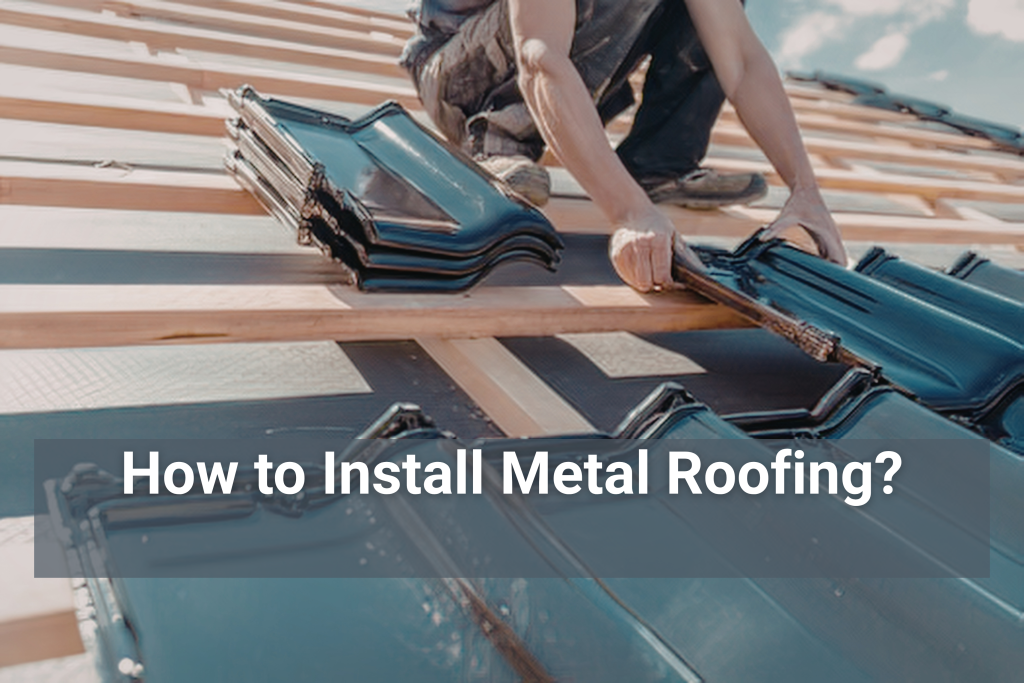
Installing the First Metal Roofing Panels
Start at the bottom edge of the roof and work your way up. Position the first roofing panel carefully and secure it using roofing screws, paying attention to spacing and alignment. Installing the first panel correctly sets the foundation for the entire roof.
When installing panels, remember to:
- Use sealant tape at overlaps to prevent leaks
- Align panels with the eave trim and drip edge
- Leave the proper overhang to guide water into gutters
Professional tips from WA Sequoia Roofing emphasize precision at every step to ensure your metal roof performs perfectly for years.
Securing Fasteners and Using Offset Cleats
Fastener installation is one of the most important parts of a metal roof project. Use the recommended roofing screws and follow manufacturer guidelines for spacing. In some cases, an offset cleat can be used to allow for metal expansion and contraction, preventing buckling or noise over time.
WA Sequoia Roofing teaches homeowners the correct fastener placement and techniques to maintain a secure, watertight roof. Proper attention here reduces the chance of leaks and improves overall durability.
Adding Ridge Caps, Closure Strips, and Trim
Once the panels are in place, install closure strips at the edges and ridge caps at the top of the roof. These components seal gaps, keep out pests, and provide a finished look. Eave trim and drip edges are essential to guide water away from the home and protect the underlying roof deck.
Proper finishing ensures a professional appearance and long-lasting performance. WA Sequoia Roofing always emphasizes these details to prevent future roofing issues.
Inspecting and Maintaining Your Metal Roof
After installation, inspect the roof for alignment, fastener tightness, and proper sealing. Routine maintenance, such as clearing debris and checking for loose screws, helps extend the life of your metal roofing system.
Even a well-installed roof benefits from periodic checks, and WA Sequoia Roofing offers professional maintenance services to keep your metal roof in optimal condition.
DIY Tips and Safety Considerations
For homeowners attempting a DIY project, safety is critical. Use proper fall protection, gloves, and eye protection when handling metal panels and roofing tools. Avoid working on wet or icy surfaces, and always lift panels with assistance to prevent injury.
Learning how to install metal roofing correctly is achievable with preparation, the right tools, and careful attention to detail. WA Sequoia Roofing encourages homeowners to combine professional guidance with DIY effort for a safe and successful project.
Contact Us
Transform your home with a durable, stylish metal roof today. Contact WA Sequoia Roofing for expert guidance, professional installation, or advice on tackling your own DIY project with confidence. Let our team help you achieve a metal roof that protects your home and lasts for decades.